

From the dashboard, click Campaigns in the navigation pane and then Create Campaign toward the top-left of the page.

Choose the type of campaign by clicking Create a campaign. For more information on the types of campaigns, see this article.
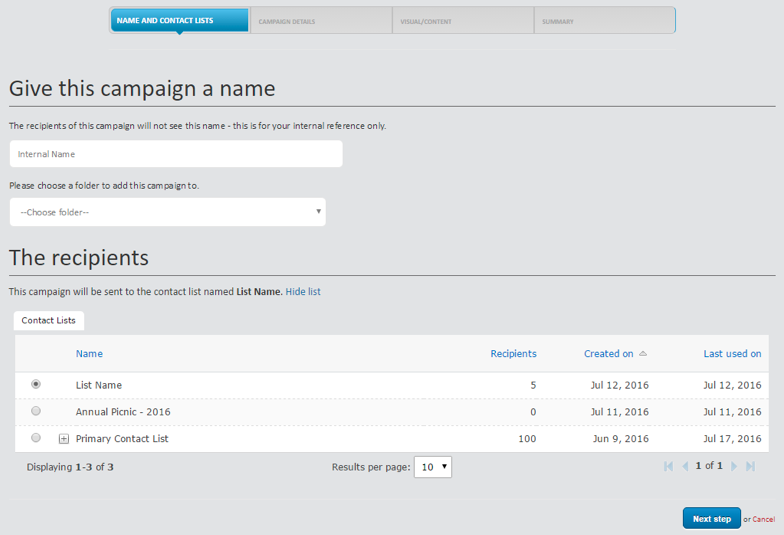
Step 1
In step one, the following information is required:
- Campaign Name: this name is for internal purposes only (i.e. your subscribers will not see this)
- Folder: campaigns can be organized into folders for ease of access and organization.
- Contact List: choose the list to which the campaign will be sent
- Expanding a contact list will display the sublists (i.e. groups) associated to that list.
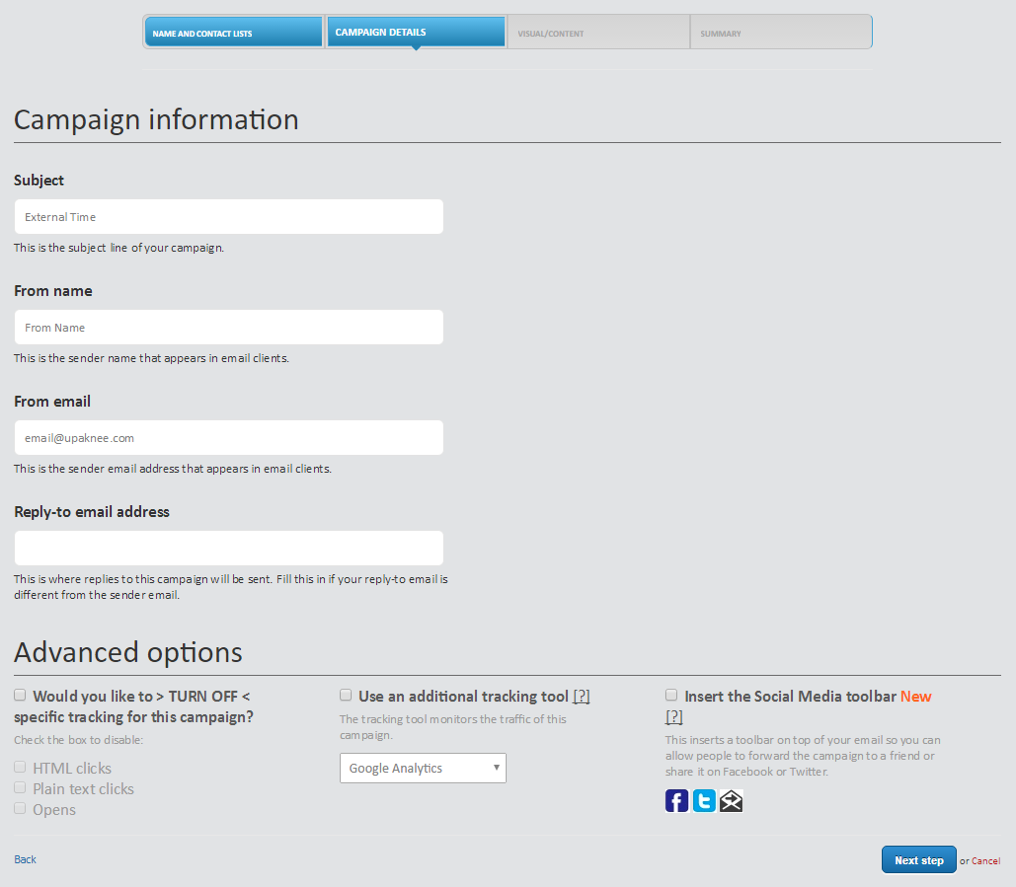
Step 2
In step two, the following information is required:
- Subject: note that subscribers will see this
- From Name and Email: will auto populate based on List settings chosen in Step 1 but can be changed on a per-campaign basis
- Reply-to address: leaving this blank will set reply-to address to the from address
- Advanced options
Step 3
In step three, the desired template is chosen. The user may choose from a default template (default view), a template from the library, or to import code.
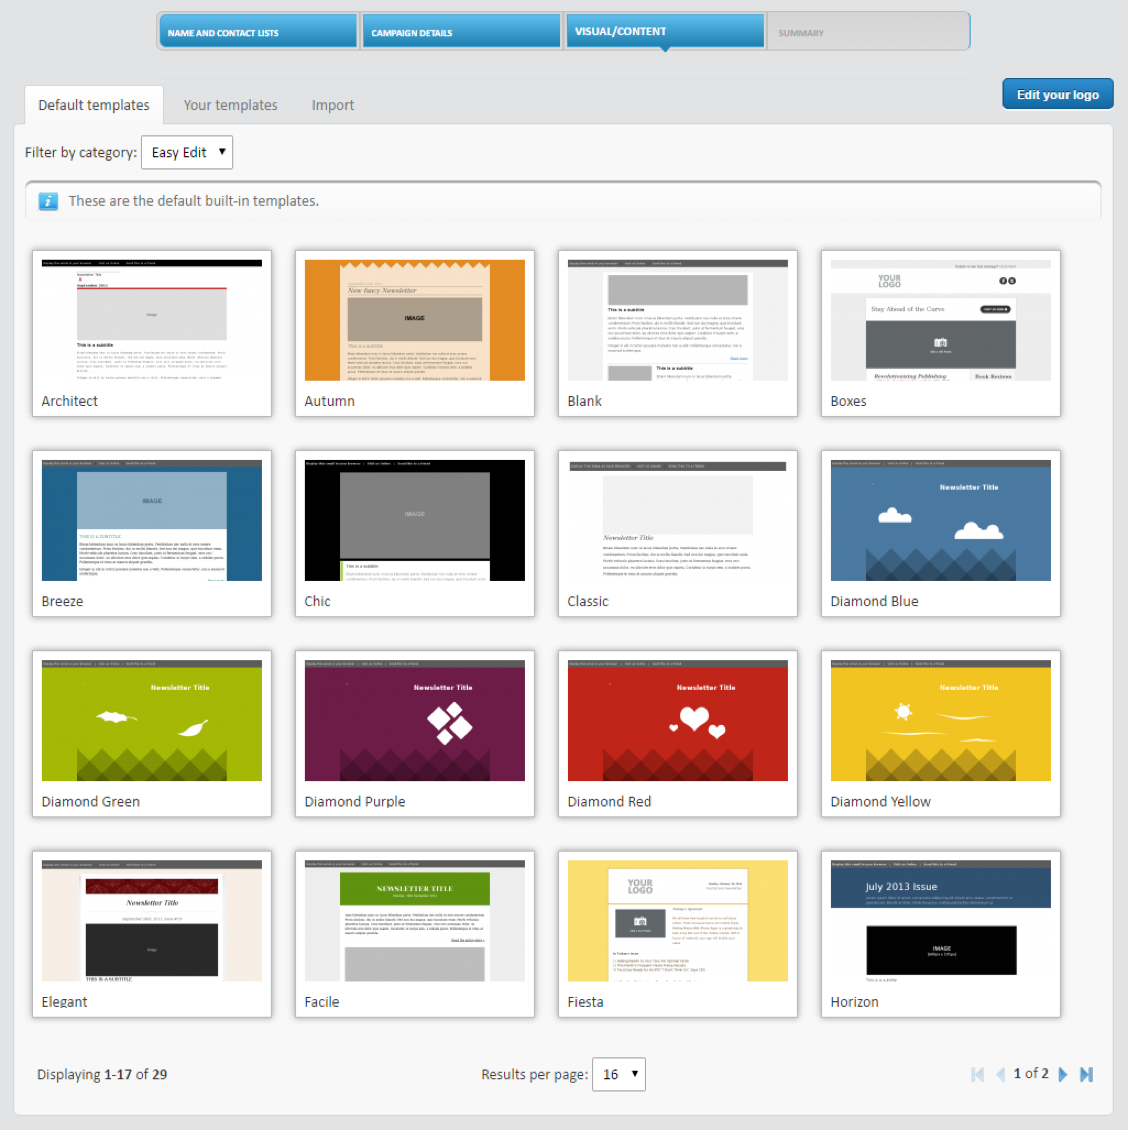
To choose a template from the Default templates, hover over a preview and click Choose.